In today’s interconnected world, a reliable and secure network is essential for the seamless functioning of our smart devices. When it comes to the Wyze Cam, a popular home security camera, knowing how to change its network is crucial for maintaining uninterrupted surveillance. In this article, we will guide you through the step-by-step process of changing the Wi-Fi network on your Wyze Cam. Whether you are a tech-savvy enthusiast or a beginner, this informative and objective guide will help you optimize your Wyze Cam’s performance effortlessly.
Key Takeaways
• Press and hold the setup button on the camera for 5 seconds until you hear ‘Ready to connect’ to change the Wi-Fi network on Wyze Cam.
• Open the Wyze app, go to the ‘Home’ tab, tap on the ‘+’ sign, and select ‘Add Device’ to connect the camera to a new Wi-Fi network.
• Troubleshoot Wi-Fi connection issues by checking network settings, verifying the router’s functionality and range, restarting the camera and router, and updating the camera’s firmware.
• Optimize Wyze Cam’s Wi-Fi performance by adjusting its placement within the network’s coverage area, ensuring it is within range of the wireless network, connecting to a 2.4GHz Wi-Fi network, and updating the firmware if necessary.
Step-by-Step Guide: Changing Wi-Fi on Wyze Cam
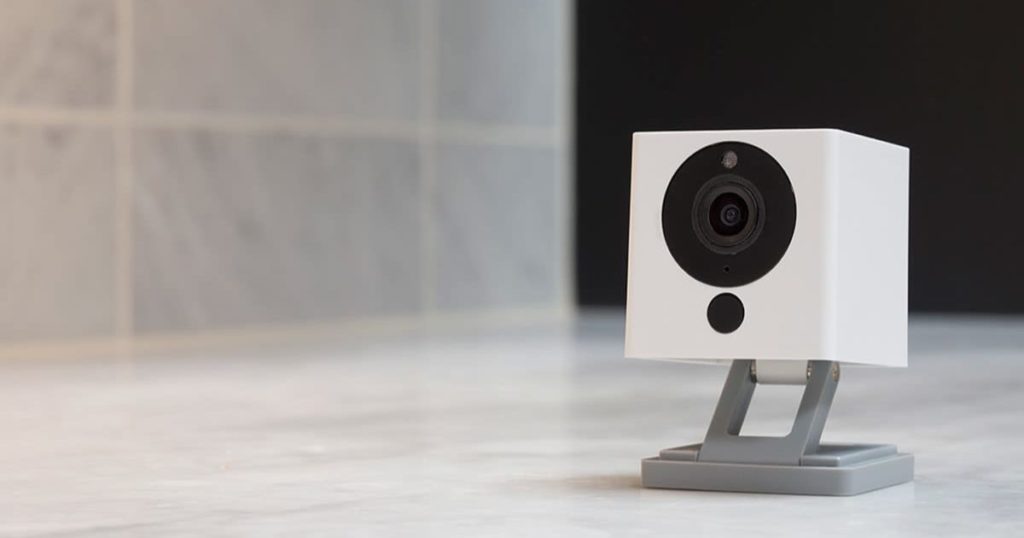
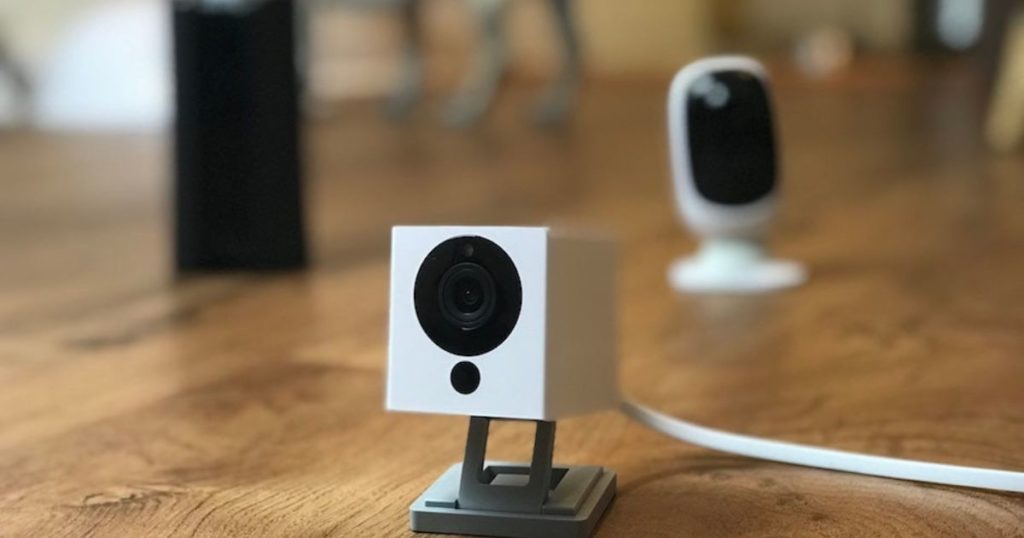
This step-by-step guide provides users with five easy-to-follow instructions for changing the Wi-Fi network on their Wyze Cam. Changing the Wi-Fi network on your Wyze Cam is essential when you want to connect it to a different network. To begin, ensure that your Wyze Cam is powered on and connected to the current Wi-Fi network. Locate the setup button on the camera and press and hold it for 5 seconds until you hear a voice prompt saying, “Ready to connect.” Open the Wyze app on your device and go to the ‘Home’ tab. Tap on the ‘+’ sign, select ‘Add Device’, and follow the setup process. Enter the password for the new Wi-Fi network and wait for the camera to connect to the new network. Once successfully connected, the Wyze Cam will have switched to the new Wi-Fi network, allowing you to monitor your surroundings seamlessly.
Troubleshooting Wyze Cam Wi-Fi Connection Issues
To resolve Wi-Fi connection issues with Wyze Cam, users can follow troubleshooting steps provided in the discussion topic. Here are some potential solutions:
• Check the network settings on the Wyze Cam and ensure they are correctly configured.
• Verify that the wireless router is functioning properly and is within range of the Wyze Cam.
• Restart both the Wyze Cam and the wireless router to refresh the wireless connectivity.
• Update the firmware on the Wyze Cam to ensure it has the latest features and bug fixes.
• If all else fails, try changing the network on the Wyze Cam. This can be done by accessing the device settings and selecting a different Wi-Fi network.
Tips for Optimizing Wyze Cam’s Wi-Fi Performance
One effective method for enhancing the Wi-Fi performance of Wyze Cam is by adjusting the placement of the device within the network’s coverage area. To optimize the camera’s connectivity, it is important to consider a few key factors. First, ensure that the Wyze Cam is within range of your wireless network. If the camera is too far away, it may struggle to maintain a strong Wi-Fi signal. Additionally, check your Wi-Fi settings and make sure you are connected to a 2.4GHz Wi-Fi network. The 2.4GHz frequency is ideal for Wyze Cam as it provides better coverage and penetration through walls compared to the 5GHz band. If you are experiencing connection issues, it is also worth checking for any outdated firmware and updating it accordingly. By following these tips, you can optimize your Wyze Cam’s Wi-Fi performance and ensure a reliable connection.
Pairing Wyze Cam to a New Wi-Fi Network
To successfully pair Wyze Cam to a new Wi-Fi network, ensure that the network’s settings are compatible with the camera’s requirements and follow the step-by-step instructions provided in the Wyze app. Here are the steps to change the network on Wyze Cam:
• Open the Wyze app on your phone.
• Tap on the gear icon in the top right corner to access the settings.
• Select the “Device Info” option.
• Tap on “Wi-Fi Networks” and choose the new network from the list.
• Follow the instructions provided by the app to complete the network connection.
Understanding Wyze Cam Wi-Fi Settings
The understanding of Wyze Cam’s Wi-Fi settings is crucial for ensuring a secure and efficient network connection. To change the Wi-Fi network on your Wyze Cam, follow these simple steps. First, make sure you have the correct password for the new network. Next, open the Wyze app on your mobile device and navigate to the ‘Devices’ tab. Tap on your camera and select ‘Settings’. From there, choose ‘Wi-Fi Settings’ and select the correct network from the list of available networks. Enter the password and wait for the camera to connect to the new network. It is important to note that changing the network will disconnect the camera from the internet temporarily, so make sure you have a stable connection before proceeding. If you encounter any issues, you may need to perform a factory reset on the camera and set it up again with the correct network settings. By understanding and correctly configuring the Wi-Fi settings on your Wyze Cam, you can ensure a seamless and secure wireless connection for your connected devices and internet access.
Frequently Asked Questions
Can I Change the Network on My Wyze Cam Without Using the Wyze App?
Yes, it is possible to change the network on your Wyze Cam without using the Wyze app. However, the exact steps may vary depending on the specific model of your Wyze Cam.
Is It Possible to Connect My Wyze Cam to a Hidden Wi-Fi Network?
Yes, it is possible to connect your Wyze Cam to a hidden Wi-Fi network. By following the instructions provided by the Wyze app, you can manually input the SSID and password of the hidden network for the camera to connect to.
How Can I Check the Signal Strength of My Wyze Cam’s Wi-Fi Connection?
To check the signal strength of your Wyze Cam’s Wi-Fi connection, navigate to the settings menu in the Wyze app. From there, select the device and look for the signal strength indicator.
What Should I Do if My Wyze Cam Keeps Disconnecting From the Wi-Fi Network?
If your Wyze Cam keeps disconnecting from the Wi-Fi network, there are several troubleshooting steps you can take. These include checking your internet connection, resetting the camera, and ensuring that it is within range of the Wi-Fi signal.
Can I Use a Wi-Fi Extender to Improve the Wi-Fi Performance of My Wyze Cam?
Yes, it is possible to use a Wi-Fi extender to improve the Wi-Fi performance of your Wyze Cam. A Wi-Fi extender can help extend the range and strengthen the signal, ensuring a more stable and reliable connection for your camera.
Conclusion
In conclusion, changing the network on a Wyze Cam can be easily done by following the step-by-step guide provided. Troubleshooting tips and optimizing the camera’s Wi-Fi performance can also help in resolving any connection issues. By understanding the Wyze Cam’s Wi-Fi settings and properly pairing it to a new network, users can ensure a smooth and reliable surveillance experience. To achieve this, it is essential to follow the instructions carefully and make necessary adjustments as needed. Remember, a well-connected Wyze Cam leads to enhanced security and peace of mind.

Brook over 3 years of professional gaming, esports coaching, and gaming hardware reviews to provide insightful expertise across PC, console, and mobile gaming.