As a dedicated PC gamer, you might find yourself in a situation where you need to charge your PS4 controller on your PC.
Whether you’re using your controller for a popular PC gaming portal or simply prefer the feel of a PlayStation controller, knowing how to charge it effectively is crucial.
In this guide, we’ll explore the various methods on how to charge a PS4 controller on a PC, ensuring your gaming sessions remain uninterrupted.
Method 1: Using a Micro USB Cable
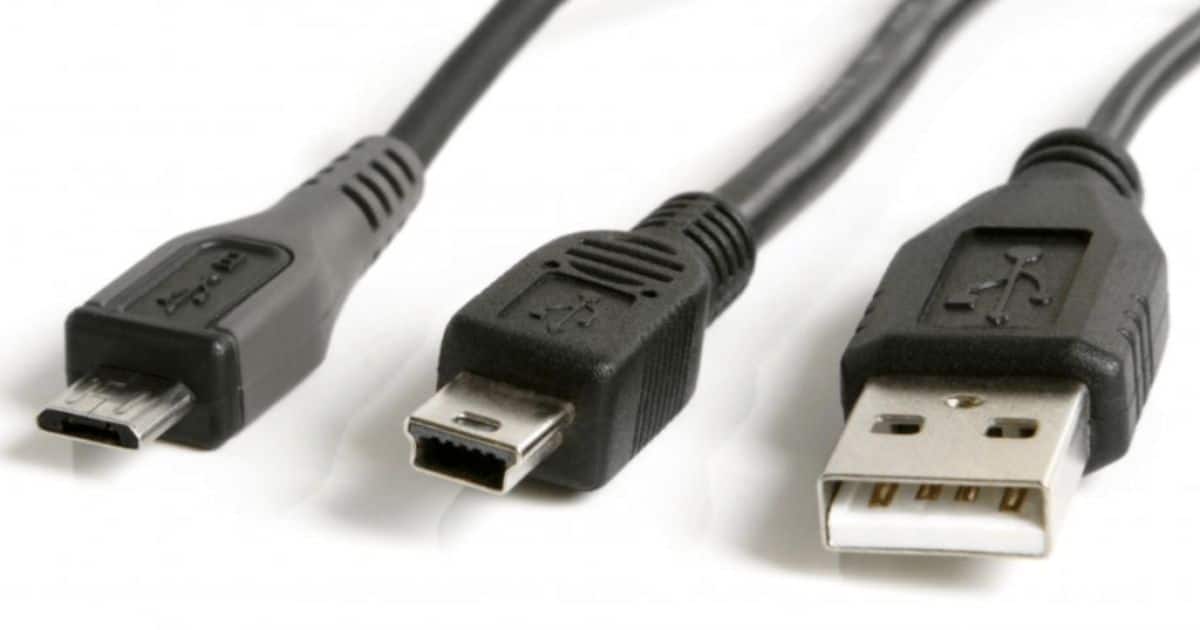
One of the simplest ways to charge your PS4 controller on your PC is by using a micro USB cable. This method involves pairing your controller to your PC via a USB cable. Here’s how you can do it:
Connect the Micro USB Cable: Connect one end of the micro USB cable to your PS4 controller and the other end to a USB port on your PC. Ensure that your PC is turned on to supply power to the controller.
Check the Light Bar: Once connected, the light bar on your controller should start to glow, indicating that the controller battery charges. The color assigned depends on the player number (blue for player 1, red for player 2, etc.).
Wait for Full Charge: Leave the controller connected until fully charged. You can check the battery level by pressing the PS button on your controller. The battery appears on the screen, showing the remaining charge.
Remember, using a micro USB cable for charging your PS4 controller on your PC is a straightforward method, but it requires your PC to be turned on during the charging process. If you’re looking to save power, you might want to explore other devices or methods.
Method 2: Charging Your PS4 Controller Wirelessly
If your PC supports Bluetooth, you can also charge your PS4 controller wirelessly. This method involves pairing your controller with your PC via Bluetooth. Here’s how:
Enable Bluetooth on Your PC: Go to your PC’s search menu, type “Bluetooth”, and select “Bluetooth and other devices settings”. Turn on the Bluetooth toggle.
Put Your PS4 Controller in Pairing Mode: Press and hold the PS button and the Share button on your controller until the light bar starts to flash.
Pair Your Controller with Your PC: Back on your PC, click “Add Bluetooth or another device”, then “Bluetooth”. Your PC should detect your controller as a “Wireless Controller”. Click on it to connect.
Charge Your Controller: Once connected, your controller battery charges whenever your PC is turned on and within range.
Charging your PS4 controller wirelessly offers the convenience of not having to deal with cables. However, keep in mind that the charging speed might be slower compared to the wired connection.
Method 3: Using a Wall Charger
Another method to charge your PS4 controller is by using a wall charger. This method is especially useful if you want to charge your controller without turning your PC on. Here’s how you can do it:
Connect Your Controller to the Wall Charger: Use a USB cable to connect your PS4 controller to a wall charger. Make sure the wall charger has the correct output (5V and 800mA) to avoid any wrong charging power rate that could damage your controller.
Check the Light Bar: The light bar on your controller will start to glow, indicating that the controller battery charges. The color uniquely assigned depends on the player number.
Wait for Full Charge: Leave the controller connected to the wall charger until fully charged. You can check the battery level by pressing the PS button on your controller. The battery appears on the screen, showing the remaining charge.
Remember, while using a wall charger can be a convenient way to charge your PS4 controller, it’s essential to use a charger with the correct output to prevent battery degradation.
Method 4: Using a Charging Station

If you’re a heavy gamer with multiple controllers, investing in a charging station might be a good idea. A charging station can charge multiple controllers simultaneously, keeping them ready for your next gaming session. Here’s how you can use it:
Place Your Controller on the Charging Station: Simply plug your PS4 controller into the charging station. The light bar turns on, indicating that the controller battery charges.
Wait for Full Charge: Leave the controller on the charging station until fully charged. The light bar will turn off, indicating that the controller is fully charged.
Charging stations are an excellent solution for gamers with multiple controllers. They offer native controller support and keep your gaming area organized.
Troubleshooting Charging Issues
If you’re having trouble charging your PS4 controller on your PC, there could be a few hiccups causing the issue. Here are some common problems and their solutions:
USB Port Malfunctioning: If your controller isn’t charging when connected to your PC, try a different USB port. Some PC USB ports might not supply power effectively.
Faulty USB Cable: If changing the USB port doesn’t help, the issue might be with the USB cable. Try using a different cable to see if that solves the problem.
Controller Settings: Make sure the controller settings on your PC are correct. You can check this by going to the Device Manager on your PC. Choose “Device Manager”, then “HID-compliant game controller”, and ensure it’s enabled.
Battery Issues: If your controller still isn’t charging, the battery might be completely drained or malfunctioning. In this case, you might need to replace the battery or get a new controller.
Frequently Asked Questions
How do I know if my PS4 controller is charging on my PC?
When you connect your PS4 controller to your PC using a USB cable, the light bar on the controller will start to glow. This indicates that the controller battery is charging. The color of the light bar uniquely assigned depends on the player number. You can also press the PS button on your controller to check the battery level. The battery appears on the screen, showing the remaining charge.
Can you charge a controller with a PC?
Yes, you can charge a PS4 controller with a PC. You can do this by connecting the controller to the PC using a USB cable. The PC must be turned on to supply power to the controller. Alternatively, if your PC supports Bluetooth, you can also charge your PS4 controller wirelessly.
Why is my PS4 controller connected to my PC but not charging?
If your PS4 controller is connected to your PC but not charging, there could be several reasons for this. The USB port on your PC might be malfunctioning, or the USB cable you’re using could be faulty. Check your controller settings on your PC to ensure they are correct. If none of these solutions work, the battery in your controller might be completely drained or malfunctioning, and you might need to replace it.
How can I use the wireless controller press to charge my PS4 controller on a PC?
Your wireless PS4 controller can be charged via a PC by connecting it using a micro USB cable. Just plug the cable into the PC and press the PS button on the controller to initiate charging.
Can adjusting power save settings and using a cheaper charging cable improve my PS4 controller’s battery life?
Using a micro USB cable, which is a cheaper alternative to specialized gaming cables, you can effectively charge your PS4 controller on a PC. To enhance the battery life, adjust the power save settings on your PS4 to turn off the controller after a certain period of inactivity.
Conclusion:
In conclusion, there are several ways to charge your PS4 controller on your PC. Whether you prefer a wired connection, a wireless method, or even a charging station, there’s a solution that will suit your gaming needs. Remember, always ensure your controller is up to date and charged to keep your gaming sessions going without a hitch.
Remember, gaming is all the rage, but a controller with a low battery level can put a damper on the fun. So, keep your controller charged and the game on!

Brook over 3 years of professional gaming, esports coaching, and gaming hardware reviews to provide insightful expertise across PC, console, and mobile gaming.