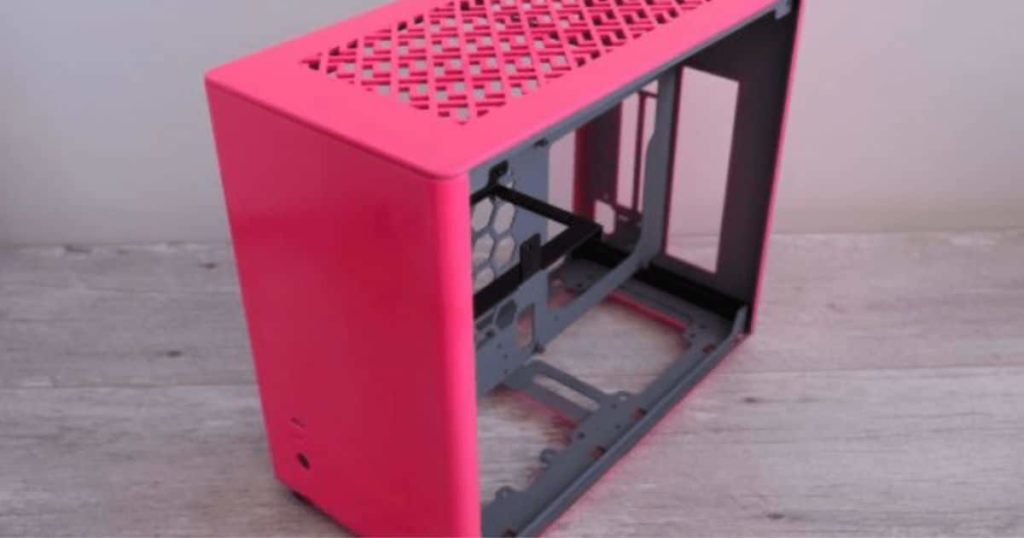
Paint PC cases can be a fun and creative way to personalize your computer setup. You want to match your case with your room decor or showcase your artistic skills. Giving your PC case a unique and eye-catching look is possible. It is important to approach the painting process with caution. It ensures that you don’t damage any components or hinder the performance of your computer.
How to Paint a PC Case: Unleash Your Creativity! – this enticing title immediately grabs the attention of computer enthusiasts and DIY enthusiasts alike. Have you ever wondered how to transform your plain, boring PC case into a stunning work of art? Look no further! Get ready to unleash your creativity and give your computer setup a personal touch that stands out.
Preparation and attention to detail are essential. Before you begin, it’s crucial to disassemble your PC and remove all components from the case. It will protect them from potential damage and ensure a smooth painting process. In this guide, we’ll explore the basics of painting a PC case and provide some helpful tips to get you started. Stay with us!
Before You Begin: Gather the Necessary Materials
Screwdriver set: To disassemble your PC case and remove all components.
Painter’s tape: You can mask areas you do not want to paint, such as ports and connectors.
Sandpaper: Choose sandpaper with different grits (e.g., 120, 220, and 400) to smooth the surface.
Tack cloth: Cleaning with a tack cloth after sanding.
Primer: Use a high-quality primer designed for metal or plastic surfaces.
Spray paint: Choose spray paint suitable for your case material and desired finish.
Clear coat: Optional but recommended for added protection and shine.
Drop cloth or newspaper: To protect your working area from paint spills.
Step 1: Disassemble and Clean Your PC Case
- Turn off your computer and unplug all cables.
- Use the screwdriver to remove the side panels and any other detachable parts.
- Take out all internal components, including the motherboard, GPU, and storage devices.
- Set aside the screws and small parts in a safe place.
- Clean the case and components using a soft cloth and a mild cleaning solution.
- Remove paint or stickers from the case using a heat gun or adhesive remover.
- Dry all parts before proceeding.
Step 2: Prepare the Surface for Painting
- Use coarse grit (e.g., 120) to roughen the case’s surface gently.
- Switch to finer grit (e.g., 220) and continue sanding to create a smooth surface.
- Wipe away any dust or debris using a tack cloth.
- Apply painter’s tape to mask off any areas you don’t want to paint, such as buttons or logos.
- Lay the drop cloth or newspaper in your working area to protect against paint overspray.
Step 3: Apply Primer to the PC Case
- Shake the primer vigorously for a minute to ensure proper mixing.
- Keep the can about 6-8 inches away from the case and apply a light, even coat.
- Dry the primer entirely according to the manufacturer’s instructions.
- Once dry, sand the primed surface with fine-grit sandpaper to smooth out imperfections.
- Use a tack cloth to remove any dust.
Step 4: Apply the Base Coat of Paint
- Shake the spray paint thoroughly to mix the paint.
- Hold the can as far as before and apply a light, even coat of paint.
- Start with a light layer to avoid drips and uneven coverage.
- Dry the paint completely before applying more coats.
- Allow each coat of paint to dry before proceeding.
- If desired, lightly sand between coats for a smoother finish.
- Remember to wipe away any dust before applying the next coat.
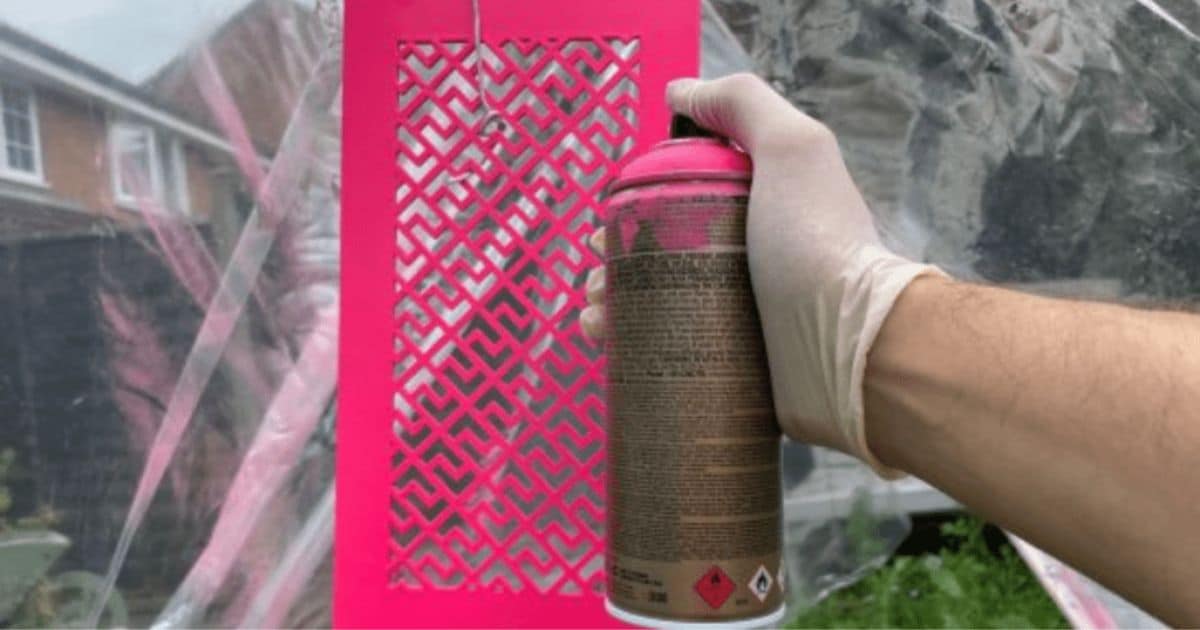
Step 5: Add Custom Designs or Effects
- After the base coat dries, you can get creative with custom designs or effects.
- Use painter’s tape or stencils to create patterns, stripes, or geometric shapes.
- Apply contrasting colors or gradients for a unique look.
- Experiment with different techniques, such as splatter painting or airbrushing.
- Allow each layer of design or effect to dry before proceeding.
Step 6: Apply the Clear Coat
- If you want to protect your paint job and add a glossy finish, apply a clear coat.
- Shake the can of clear coat to mix the solution.
- Hold the can at the same distance and apply a light, even coat.
- Allow the clear coat to dry totally between coats.
- Apply 2-3 coats for maximum protection and shine.
Step 7: Reassemble Your PC Case
- Remove the painter’s tape once the paint and clear coat are dry.
- Reattach any components you removed earlier, such as the motherboard and GPU.
- Use the screws to secure the components and panels in place.
- Double-check all connections to ensure everything is connected correctly.
- Plug in the cables and power on your computer to test functionality.
FAQ’s
Is it OK to paint a PC case?
Yes, it is generally OK to paint a PC case if you follow proper preparation and painting techniques.
What paint is suitable for PC cases?
For a PC case, it is recommended to use spray paint designed for metal or plastic surfaces.
Can you use acrylic paint on the PC case?
Acrylic paint can be used on a PC case, but it may not provide as durable a finish as specialized spray paint.
Can I spray paint PC parts?
It is not recommended to spray paint individual PC parts, such as the motherboard or GPU, as it can potentially damage sensitive components.
Can I spray-paint my PC?
Yes, you can spray paint the external surface of your PC case, but make sure to disassemble it and protect the internal components before painting.
Conclusion
In conclusion, learning how to paint a PC case can be a fun and rewarding project. It allows you to showcase your creativity and personalize your computer setup. Following the step-by-step guide, you can disassemble your PC case and prepare the surface. You apply primer and paint and add custom designs or effects if desired. Whether you want a sleek and professional look or a bold and artistic creation, painting your PC case offers endless possibilities for customization.
Remember to choose the appropriate paint for your case material and consider using a clear coat for protection. While acrylic paint can be used, it may not be as durable as specialized spray paint. Take the necessary precautions to protect the internal components of your PC and ensure proper ventilation during the painting process. With careful attention to detail and tolerance, you can transform your PC case into a unique and visually appealing masterpiece that reflects your style.
Read more related articles on techytrust

Brook over 3 years of professional gaming, esports coaching, and gaming hardware reviews to provide insightful expertise across PC, console, and mobile gaming.