Taking a screenshot is a quick and straightforward approach to capturing what’s on your computer screen as a digital image. These may be useful for printing a picture or sharing it with someone. Press PrtScn and then take the modified photo to capture a screenshot. But the most valid query raised these days is, How to Screenshot on a Gateway Laptop?
One of the most accessible and valuable things you can do on a computer takes screenshots. They are beneficial for creating bug reports, taking notes, or distributing something. You can capture screenshots of your desktop or any open window. One of the simplest laptop tasks is taking a screenshot.
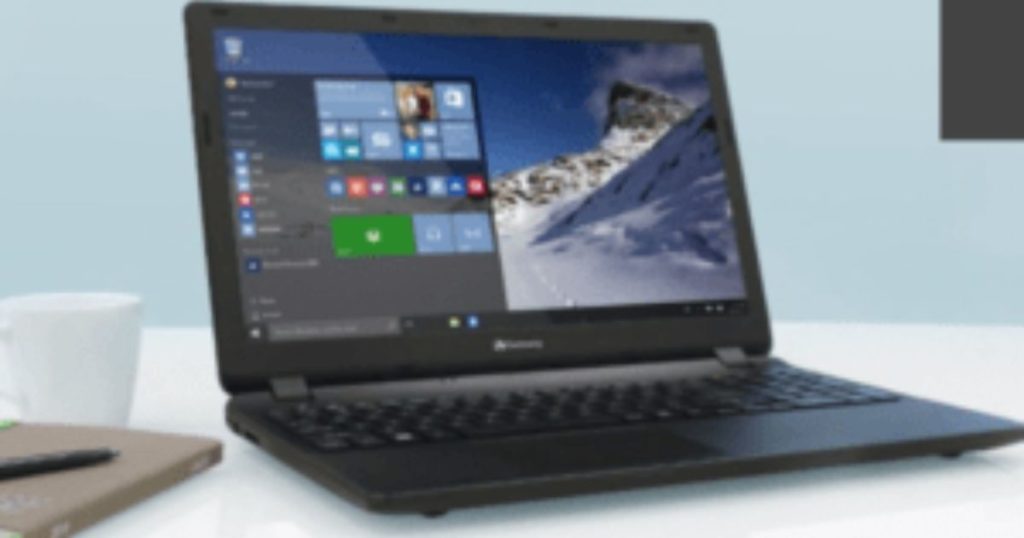
Many laptops have the same mode of capturing screenshots: Control+Print Screen buttons. Though if we talk about Gateway laptops, then the method is different.
Gateway laptops come in an assortment of models, each distinct and unique. Each model has a different configuration, features, and functionality. Though Gateway laptops vary in composition, they share related keywords and the same way of taking screenshots in Gateway laptops.
Different Methods To Take A Screenshot In A Gateway Laptop:
There are different methods to take screenshots on Gateway laptops, depending on the operating system and the specific model of the laptop. Here are some of the standard methods:
Method # 1:
Taking Screenshots Using Windows + Print Screen Button
It is the most accessible mode to take screenshots on a Gateway laptop.
1. Visit the screen you wish to capture first.
2. Press or hold the Windows button and press the print screen key. Release both buttons simultaneously.
3. This will take a shot of your screen and save it accordingly in the screenshot folder in the Picture Library.
Method # 2:
Taking Screenshot Using Windows + G Keys
1. Another easy method of taking screenshots on a Gateway laptop is by using the Windows + G keys.
2. Press Windows + G keys on your keyboard.
3. The game bar will be accessible with the camera option.
Click on the camera option, take the screenshot, and save it on your adapted location.
Method # 3:
Screenshots Taken with the Snipping Tool
1. You can also capture screenshots using your Gateway laptop’s snipping function. This free tool is readily available through the start menu. It lets you capture multiple windows, free from selections or desktop screenshots. You can also edit and interpret the screen images. It is suitable for Windows 10, Windows 8, Windows 7, and Windows Vista.
2. Click the start menu and type the snipping tool in the research bar.
3. To open it, click on the Snipping Tool.
4. Select the mode: Free -from Snip, Rectangular Snip, Window Snip, or Full-screen Snip
Method # 4:
Taking Screenshot Using LightShot Application
Install the LightShot App on your laptop and then use it to capture the screen. It is a suitable tool specially designed to capture screenshots. LightShot is a complementary app for Mac, Chrome, and Windows to capture, edit and share screenshots.
1. Open the LightShot App.
2. For The area you want to capture, drag the mouse.
3. Later, copy and save the image on your Gateway laptop. If editing is necessary, edit the image before saving it.
A Gateway laptop running Windows 8 or 10
The best method to take a screenshot is With a Gateway laptop running Windows 8 or 10, there are several ways to take a screenshot, but one of the most effective and flexible options is to utilize the included Snipping Tool.
- Type “Snipping Tool” into the Windows search box and choose the App from the results list to launch the Snipping Tool.
- Choose the screenshot you want after the Snipping tool has opened. You can choose from four options: Free-form Snip (to draw a shape around an area to capture), Rectangular Snip (to capture a rectangular area), Window Snip (to capture a specific window), and Full-screen Snip (to capture the entire screen).
- After choosing the screenshot you want to take, either use the mouse to select a window by clicking on it or draw a box around the area you want to capture. If you choose Full-screen Snip, the screenshot will be taken automatically.
- The screenshot will show up in the Snipping Tool window once taken. You can then save the screenshot to your computer by clicking the “Save” icon and selecting a location to save the image.
The Snipping Tool is a quick and easy way to take screenshots on a Gateway laptop running Windows 8 or 10, and it also allows for basic editing of the screenshot, such as highlighting or drawing on the image.
Why Do You Need To Take A Screenshot?
There are many benefits to taking a screenshot on your laptop. It is easy and quick to snap a picture on your screen. If you are having-work related complications, you can easily send a picture of your screen to your supervisor for advice. It is the easiest and quick way to communicate something.
Also, taking a screenshot saves time and struggles from having to type out a lengthy message. Most of us have been in a position where we must type out a long justification, but then we understand that we don’t have time to type it out.
Taking a screenshot as well is a great way to be more formulated. Numerous people have difficulty being more effective, but taking a screenshot can help you stay on track with your work. Instead of being bothered that you will fail to remember something, you can take a picture to remind you.
What Are The Secluded To Sharing The Screenshot You Have Taken?
You can upload, distribute or send the screenshot to other people in many ways. You may distribute the image you have captured by email. It is the easiest way to share screenshots with friends and competitors.
All you need is to add the receiver’s email address and the screenshot at the end of the email. If you want to distribute your screenshot speedily with your friends and competitors, you can directly share your images on distinct social media networking like Facebook, Twitter, and Instagram.
You can also use an image hosting site to distribute screenshots to others. Various web host sites provide image hosting services. The host sites will give you a link to distribute screenshots. You can share the link of the screenshot to distinct platforms.
Frequently Asked Questions:
How do you screenshot on a Gateway Chromebook?
To take a screenshot on a Gateway Chromebook, you can use the following methods:
Press the Ctrl + Show windows (or Ctrl + F5) keys simultaneously to capture a screenshot of the entire screen.
Press the Ctrl + Shift + Show windows (or Ctrl + Shift + F5) keys simultaneously to capture a screenshot of a specific area on the screen.
How do you screenshot on a Gateway tablet?
On a Gateway tablet, you can often use the following technique:
When you see the screen flash, simultaneously press and hold the Volume Down and Power buttons. The screenshot will be saved to the Screenshots folder or your Gallery app.
What are three ways to take a screenshot on a PC?
On a PC, there are numerous ways to take a screenshot, but the following three are standard practices:
To take a snapshot of the complete screen, press the Print Screen (PrtScn) key and then paste the screenshot into an image editing tool.
To take a screenshot of a specified screen region and save it as an image file, use the Windows Snipping Tool.
Use a third-party screenshot tool like Greenshot or Snagit to capture and edit screenshots with additional features.
Conclusion
Taking screenshots on a Gateway laptop is an easy process. It is valuable for saving images and instructions from your screen to save them as pictures and distribute them to others. There are countless ways you can take a screenshot on a Gateway laptop. Each one of these techniques will work great and can be used conditional on specific needs. But these days lots of image editing software help out to take screenshots on the gateway laptop windows keyboard shortcut.
read more related articles………..

Brook over 3 years of professional gaming, esports coaching, and gaming hardware reviews to provide insightful expertise across PC, console, and mobile gaming.