Are you ready to elevate your audio experience? Look no further than the Powerbeats Pro, a high-performance wireless earphone designed to deliver impressive sound quality. In this informative article, we will guide you through the steps of connecting your Powerbeats Pro to your Mac, ensuring a seamless audio experience. Whether you’re a music enthusiast or a professional on the go, this comprehensive guide will help you effortlessly sync your devices and enjoy the ultimate sound experience. Get ready to immerse yourself in a world of exceptional audio quality.
Key Takeaways
• Charge Powerbeats Pro and put them in pairing mode.
• Open Bluetooth Preferences on Mac and click the Bluetooth icon.
• Press and hold Powerbeats Pro’s power button until LED blinks.
• Connect Powerbeats Pro to Mac and adjust settings for audio output.
Updating Your Mac Software
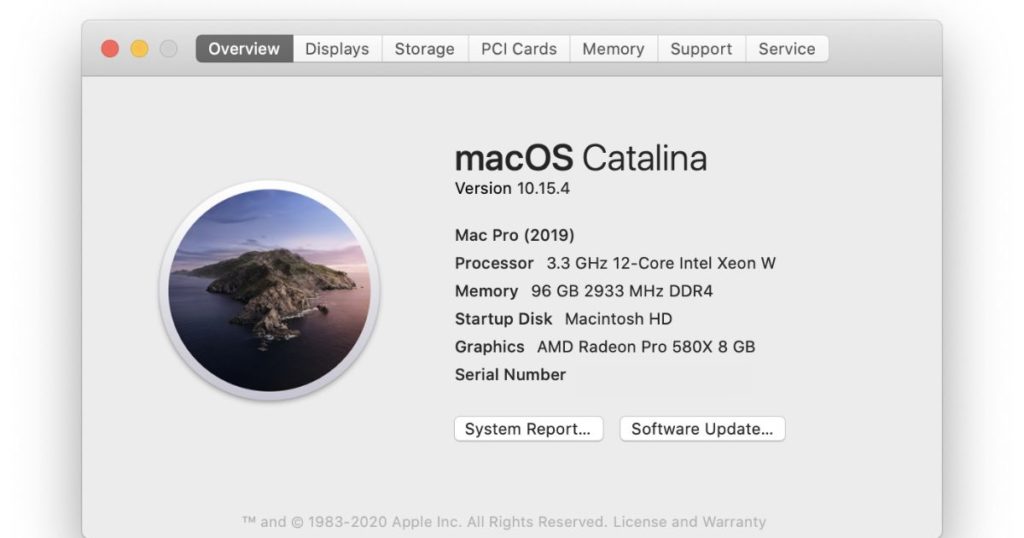
The process of updating your Mac software is crucial to ensure your device’s performance and security. By regularly updating your Mac software, you can take advantage of new features, improve compatibility with other devices, and enhance overall system stability. This is particularly important when it comes to connecting your Powerbeats Pro to your Mac. Software updates often include improvements to Bluetooth connectivity, which can enhance the connection between your Powerbeats Pro and your Mac. It is recommended to regularly check for software updates on your Mac by going to the Apple menu and selecting “Software Update.” If you encounter any issues with your Powerbeats Pro connection, it is also advisable to visit the Apple Support website or contact their support team for further assistance. Additionally, updating the firmware on your Powerbeats Pro can also help improve the connection and performance of your device. You can check for firmware updates by connecting your Powerbeats Pro to your Mac and opening the Beats Updater app. Remember to pay attention to the indicator lights on your Powerbeats Pro, as they can provide valuable information about the device’s status and connection. By keeping your Mac software up to date and staying informed about firmware updates for your Powerbeats Pro, you can ensure a seamless and reliable connection between the two devices.
Setting up Powerbeats Pro on Iphone, Ipad, and Ipod Touch
How do you connect Powerbeats Pro to an iPhone, iPad, or iPod Touch, and what steps are involved in the setup process? Setting up your Powerbeats Pro with your iPhone, iPad, or iPod Touch is a straightforward process that requires just a few simple steps. First, ensure that your device is charged and that Bluetooth is enabled. Then, open the lid of the Powerbeats Pro case and bring it close to your device. A prompt will appear on your screen, allowing you to connect. Simply tap “Connect” and your Powerbeats Pro will be paired with your device. Once connected, you can control playback, adjust volume, and access other features directly from your device. The Powerbeats Pro offers a seamless and convenient way to enjoy your favorite audio content on the go.
Connecting Powerbeats Pro to Your Mac

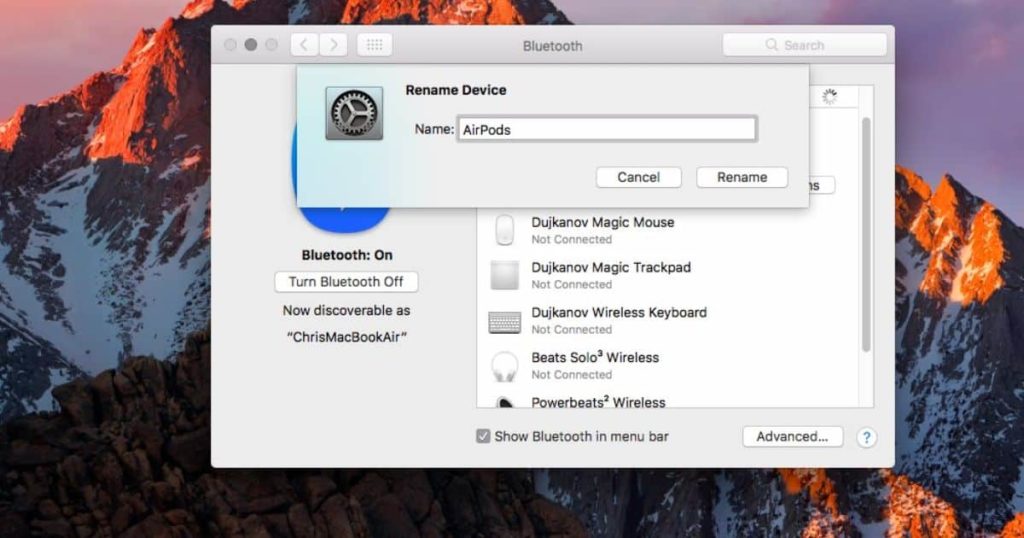
To establish a seamless audio connection, pairing your Powerbeats Pro with your Mac is a straightforward process that allows for enhanced productivity and immersive sound experiences. Begin by ensuring that your Powerbeats Pro are charged and in pairing mode. On your Mac, click on the Bluetooth icon in the menu bar and select “Open Bluetooth Preferences.” Press and hold the power button on your Powerbeats Pro until the LED light on the case starts blinking. Your Mac will now detect the Powerbeats Pro and display them in the list of available Bluetooth devices. Click on the Powerbeats Pro to connect them to your Mac. If you encounter any connection issues, make sure that your Mac’s Bluetooth is turned on and that no other devices are interfering. Adjust your Mac’s device settings to prioritize the Powerbeats Pro for audio output. With this simple setup process, you can enjoy the convenience of wireless headphones on your Mac and experience exceptional sound quality for all your tasks and entertainment.
Transition: Now that you have successfully connected your Powerbeats Pro to your Mac, let’s explore how to connect them to Android devices.
Connecting Powerbeats Pro to Android Devices
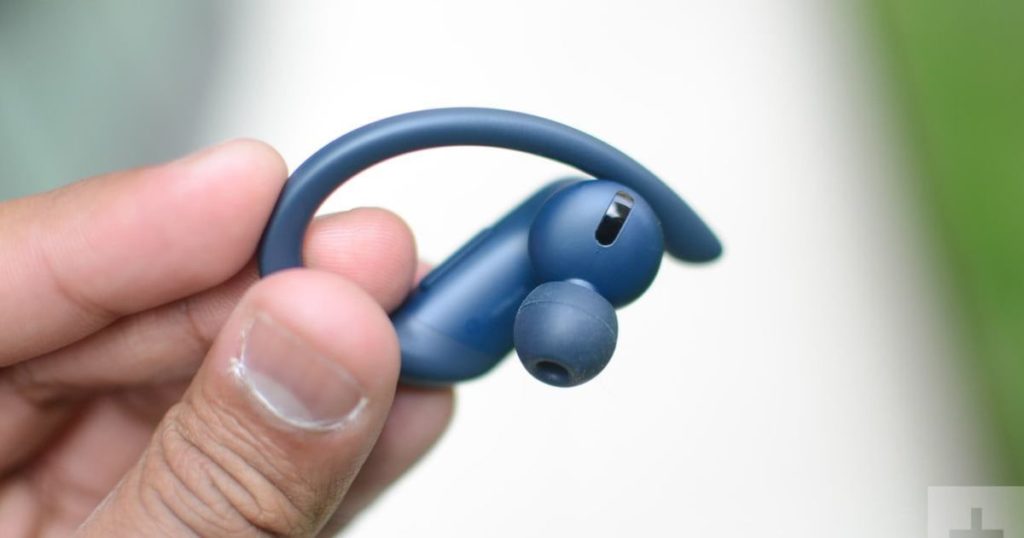
For optimal compatibility, establishing a seamless connection between your Android device and Powerbeats Pro requires following a series of simple steps. Powerbeats Pro are wireless headphones that offer exceptional sound quality and a comfortable fit. To connect Powerbeats Pro to your Android device, start by ensuring that Bluetooth is turned on. Then, open the Bluetooth settings on your Android device and select “Powerbeats Pro” from the list of available devices. Once connected, you can enjoy your favorite music, podcasts, and calls without the hassle of wires. The Powerbeats Pro offer a long battery life, providing up to 9 hours of listening time on a single charge. Additionally, the charging case provides an additional 24 hours of battery life. Connecting your Android device to Powerbeats Pro is a simple process that enhances your listening experience and ensures optimal battery efficiency.
Troubleshooting Powerbeats Pro Connection Issues
If you are experiencing connection issues with your Powerbeats Pro, try resetting them and then reconnecting them to your device. Troubleshooting connection issues can be frustrating, but there are a few steps you can take to resolve the problem. First, make sure your Powerbeats Pro are charged and turned on. Next, check that Bluetooth is enabled on your Mac and that it is in pairing mode. If you are still having trouble, try forgetting the Powerbeats Pro from your Mac’s Bluetooth settings and then reconnecting them. Additionally, ensure that your Mac’s operating system and software are up to date. If all else fails, you may need to contact customer support for further assistance. By following these troubleshooting steps, you should be able to successfully connect your Powerbeats Pro to your Mac.
Frequently Asked Questions
How Long Does It Take to Charge the Powerbeats Pro for the First Time?
The Powerbeats Pro require approximately 1.5 hours to fully charge for the first time. It is recommended to connect them to a power source using the included Lightning cable and allow sufficient time for the initial charge.
Can I Use the Powerbeats Pro With Multiple Devices Simultaneously?
Yes, the Powerbeats Pro can be used with multiple devices simultaneously. It supports Bluetooth connectivity, allowing you to pair and switch between devices easily. This feature enhances convenience and flexibility for users with multiple devices.
Are the Powerbeats Pro Sweat and Water-Resistant?
The Powerbeats Pro are designed to be sweat and water-resistant, making them suitable for use during intense workouts or outdoor activities. This feature ensures durability and reliability, providing peace of mind to users.
How Do I Adjust the Volume on the Powerbeats Pro?
To adjust the volume on the Powerbeats Pro, locate the volume buttons on the earphones. Press the “+” button to increase the volume and the “-” button to decrease it. This allows for easy control of the audio levels during use.
Can I Use Siri With the Powerbeats Pro on My Mac?
Yes, you can use Siri with the Powerbeats Pro on your Mac. Simply activate Siri by saying “Hey Siri” or pressing the Siri button on your Powerbeats Pro, and you can enjoy hands-free control and assistance.
Conclusion
In conclusion, connecting Powerbeats Pro to your Mac is a straightforward process that requires updating your Mac software and following the steps to connect them. By ensuring your devices are up to date and following the proper setup instructions, you can easily enjoy the convenience and quality of Powerbeats Pro on your Mac. Remember to troubleshoot any connection issues that may arise to ensure a seamless experience.

Brook over 3 years of professional gaming, esports coaching, and gaming hardware reviews to provide insightful expertise across PC, console, and mobile gaming.